Setting Up and Using Work Schedules
The Work Schedules feature on Time Doctor allows administrators to set work schedules for any user. They can then automatically monitor whether each user was late, partially absent, or fully absent for each shift.
This feature is highly flexible. It allows you to set up almost any work schedule that you desire. With the click of a button, you can apply the same work schedules to multiple users. You can also create different schedules for different users, including different shifts on different days of the week for the same user or different shifts for users in different time zones, and so on.
To begin, here is a video overview on how to set up work schedules:
The Three Pages Related to Work Schedules
Three pages of your Time Doctor account are closely related to each other:
Work Schedules
This is where you can view or edit work schedules for yourself or the people you manage.
Edit Absent & Late Reasons
This is where users can submit and edit reasons why they were late, absent, or partially absent for each of their shifts.
Attendance Report
This is where managers or administrators can see who was late, absent, or partially absent for each shift, as well as their reasons why.
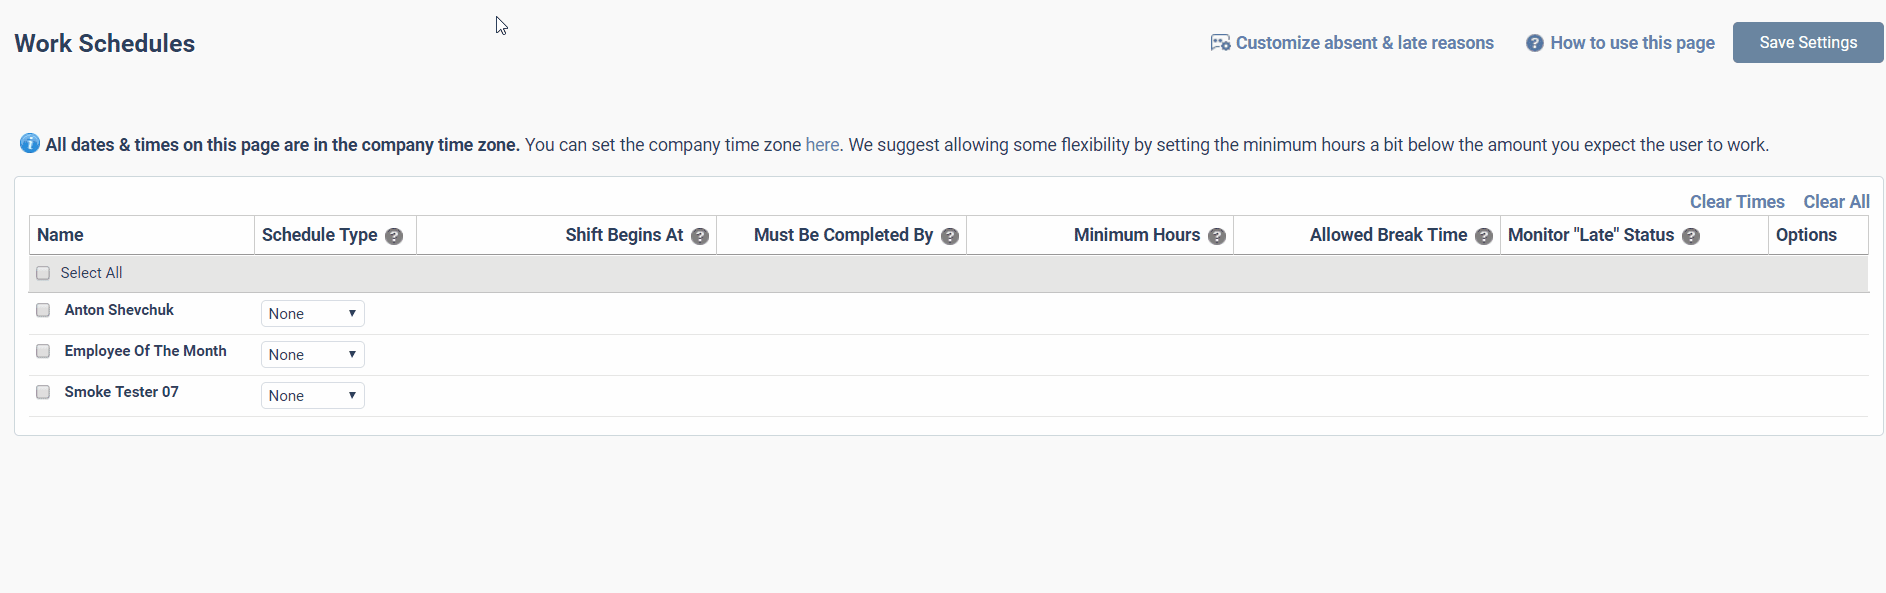
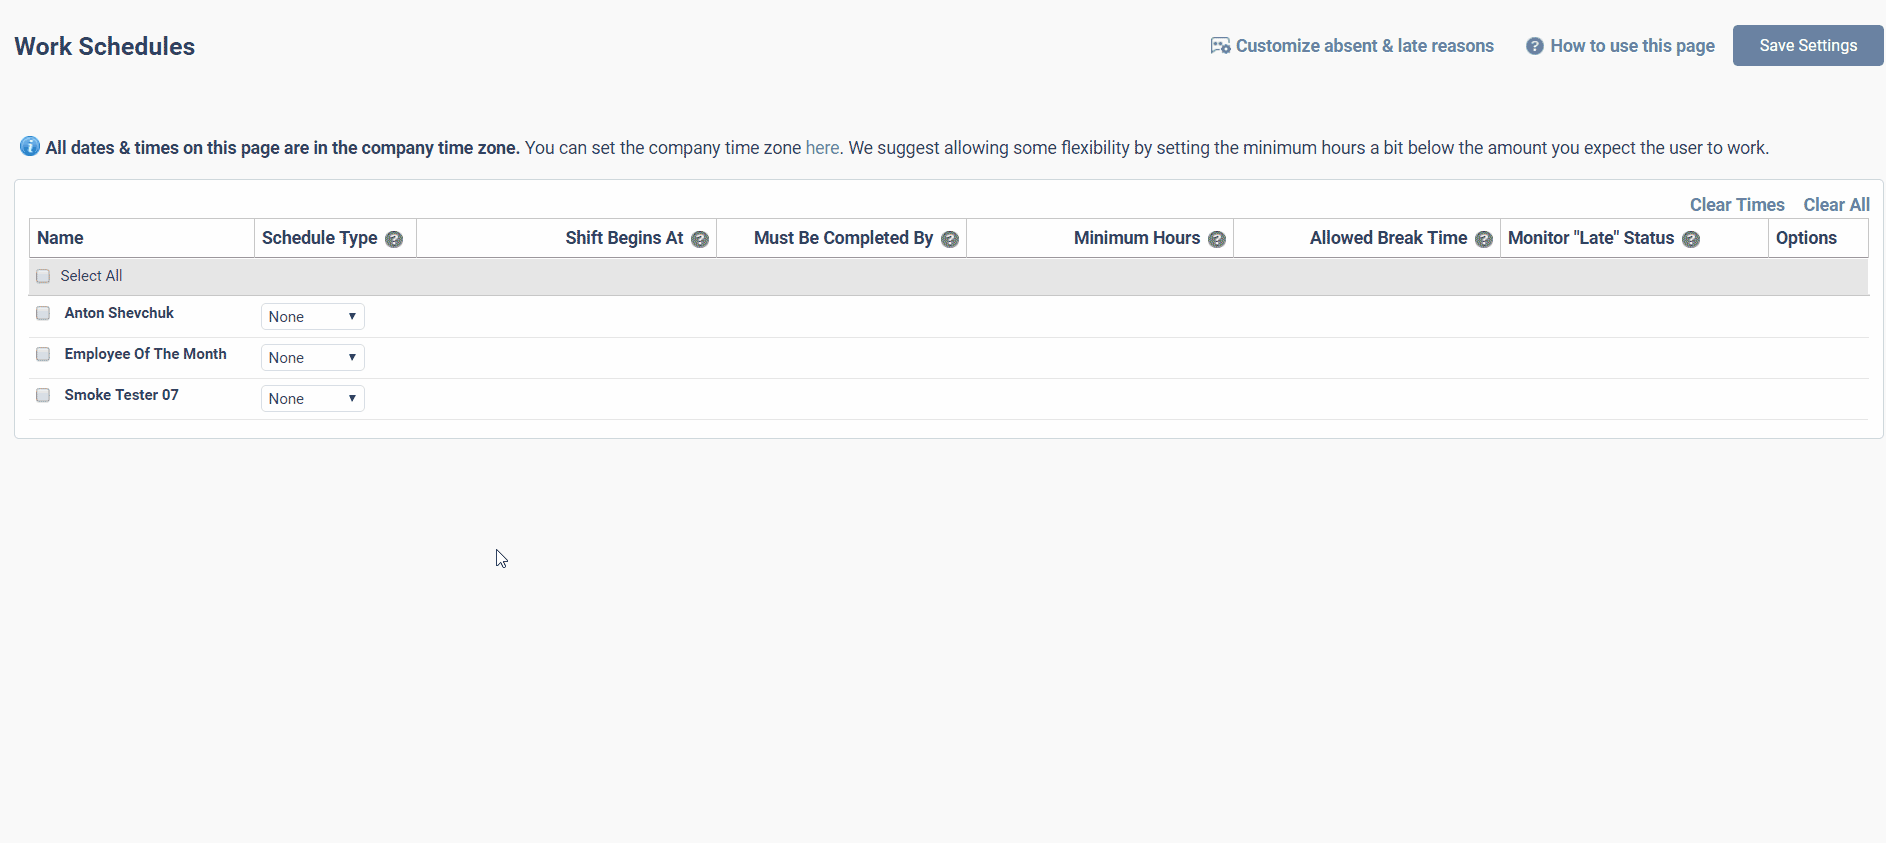
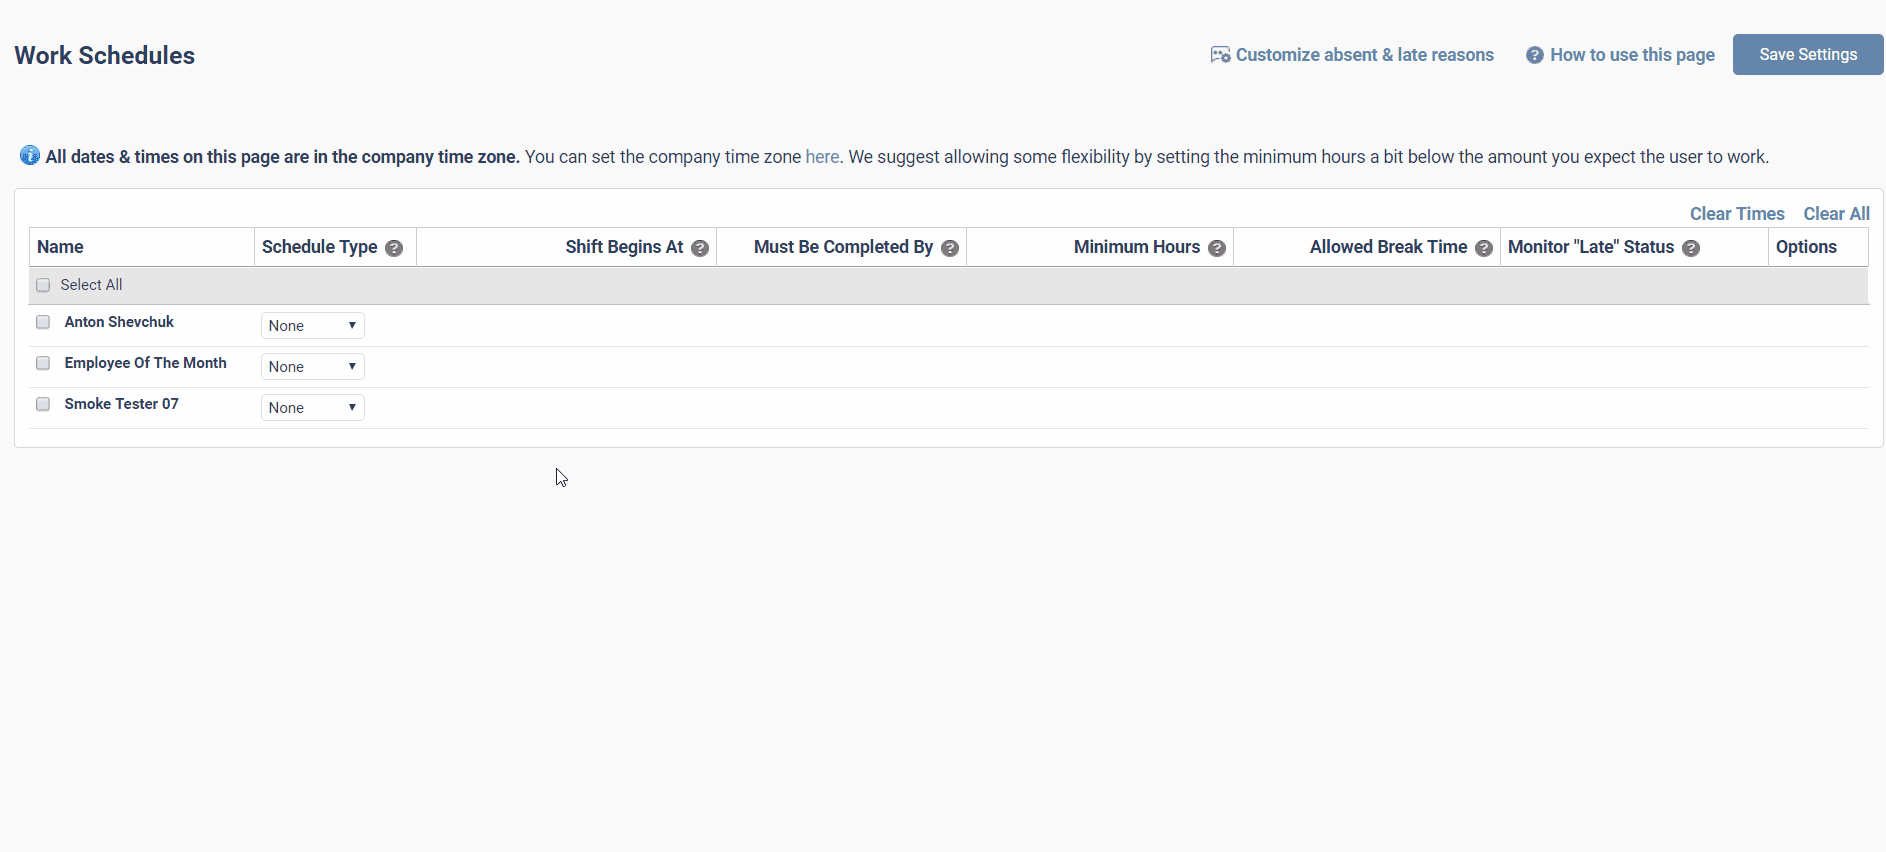
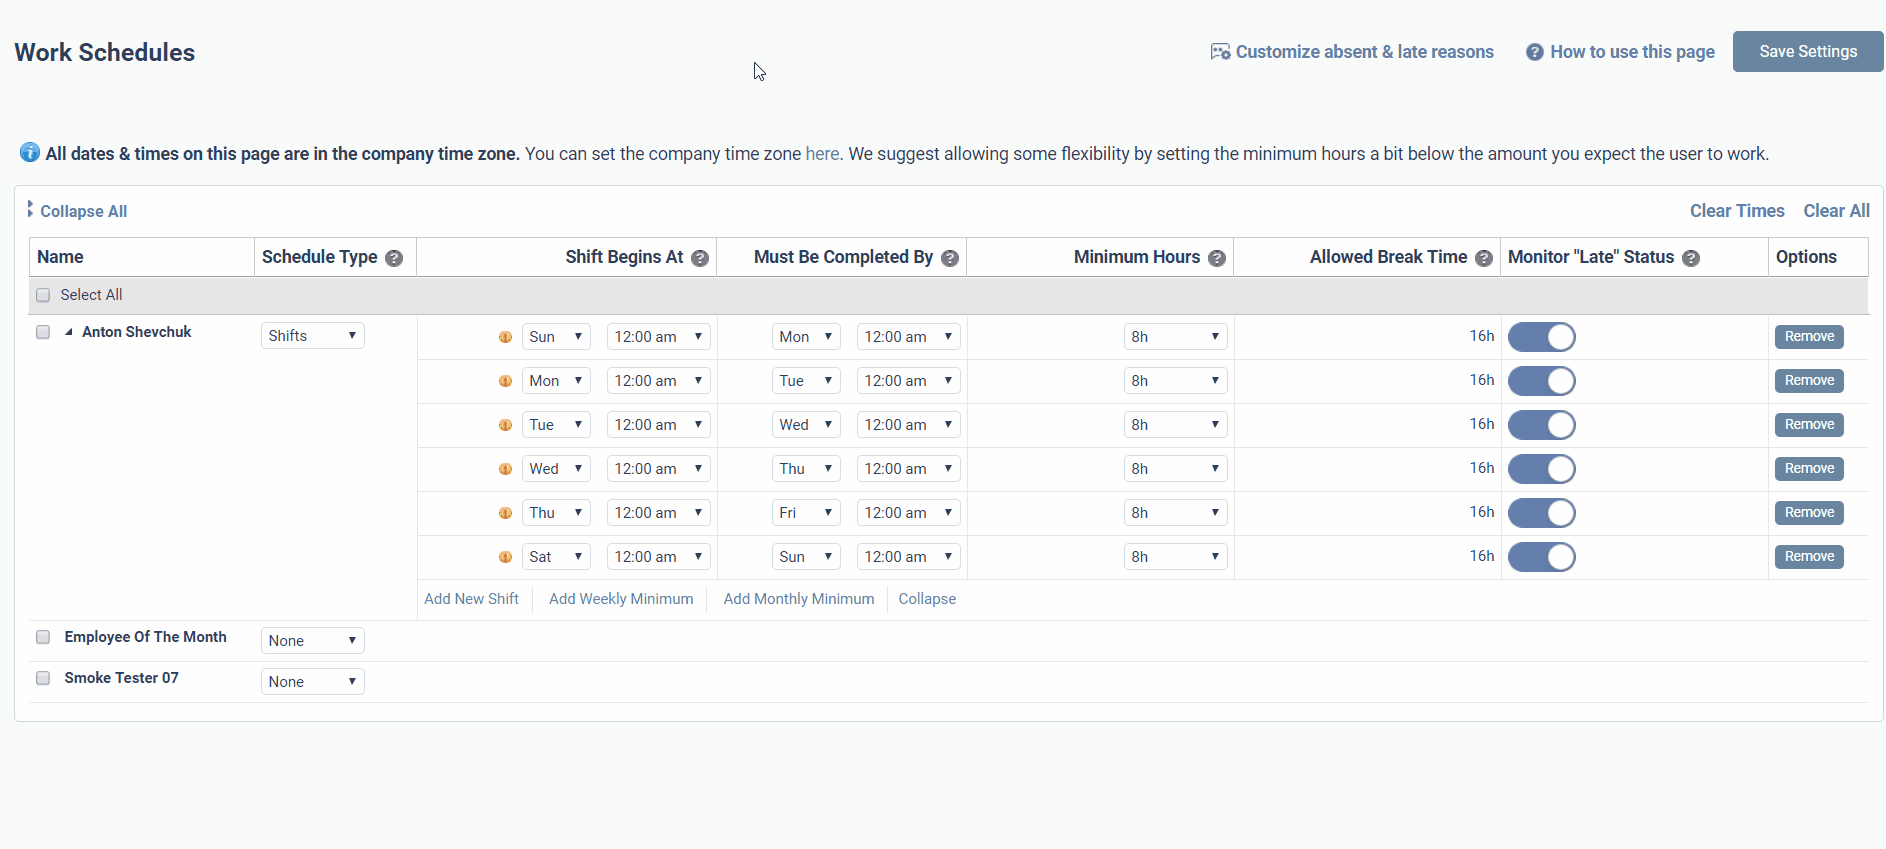
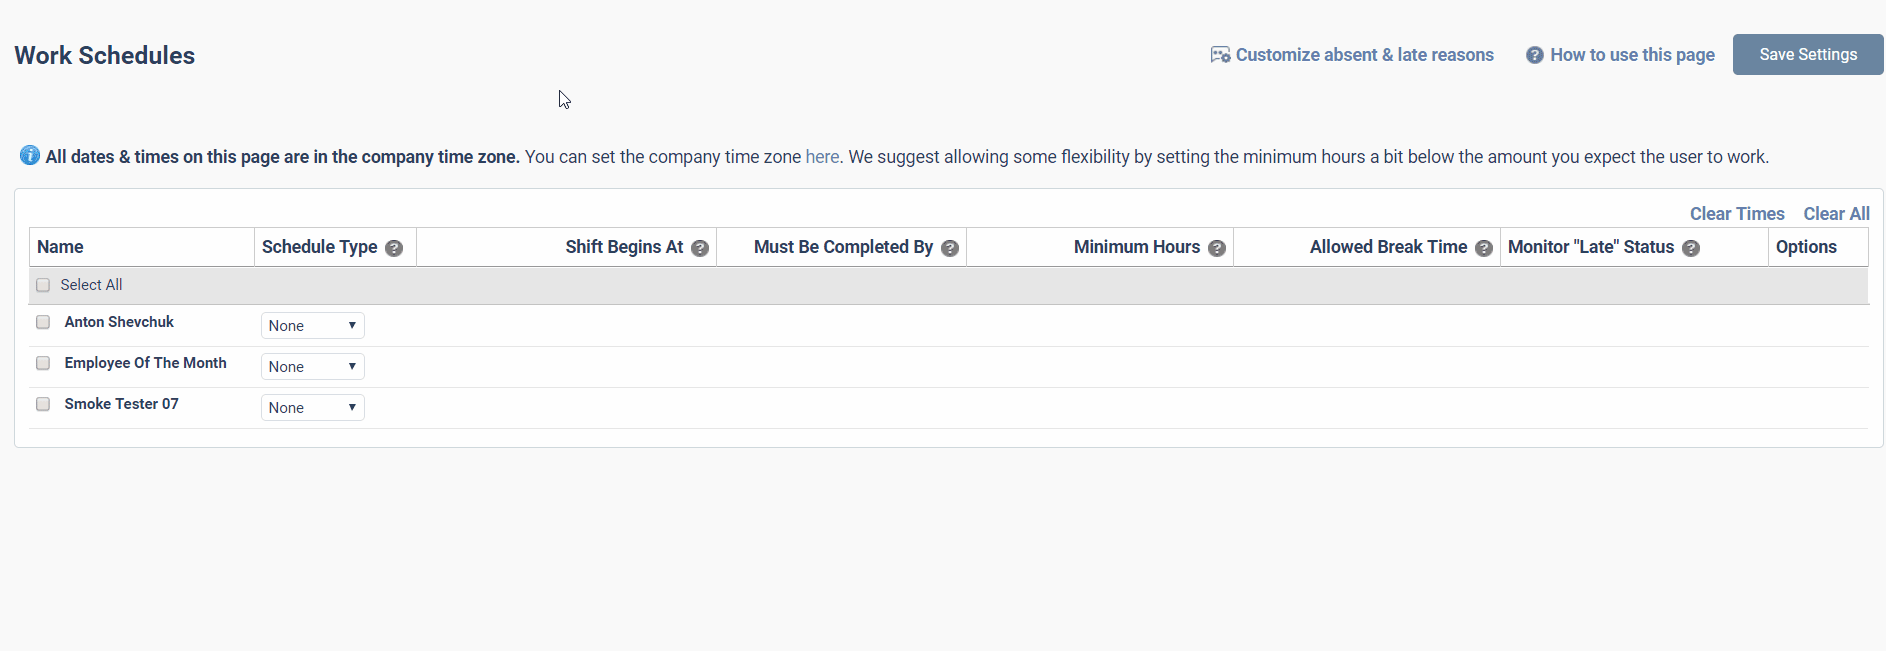
This article is primarily about the Work Schedules page and how to set up various types of schedules. To access this page, go to Settings > Work Schedules.
If the Work Schedules menu is not visible, please make sure that the Work Schedules module is ENABLED by going to Settings > Company Settings.
Access Levels
Every type of user has access to all three of the pages mentioned above, but with different levels of access:
Work Schedules:
Admins: Can view or edit the work schedules for anyone in the company.
Managers: Can view, but not edit, the work schedules for themselves and for the people they manage.
Regular Users: Can only view, but not edit, their own work schedule.
Edit Absent & Late Reasons:
Admins: Can edit reasons for anyone in the company.
Managers: Can edit reasons for the people they manage.
Regular Users: Can only edit reasons for themselves.
Attendance Report:
Admins: Can view the attendance report for anyone in the company.
Managers: Can view the attendance reports for people they manage.
Regular Users: Can only view their own attendance report.
A Few Basics
Before we jump into how set up specific scheduling scenarios, here are a few things you should be aware of:
Shifts are highly flexible.
Shifts can be set to cover any time period up to a full week. So, you could have a shift from 9 am to 5 pm on one day, from 10 pm to 6 am the next day, from 3 pm on Tuesday to 10 pm on Thursday, or from midnight on Sunday to the next Sunday at midnight. The world is your oyster! See the sample schedule scenarios below for examples of how to use unconventional schedules.
Shifts cannot overlap each other for the same person.
For example, if a user's shift ends at 5 pm on Monday, you will not be able to create a second shift for that person that starts before their shift ends at 5 pm on Monday.
Everything on the scheduling page is displayed in the company’s time zone.
All schedules on the page are in the company’s time zone. So, if someone is on the opposite side of the planet from the company’s time zone (a 12-hour difference), you will need to set their work schedule from 9 pm to 5 am if you want them to work from 9 am to 5 pm in their time zone. Administrators can set the company's time zone from their Company Settings page.
Past schedules are remembered.
If someone has been working a day shift for the past year and you change their schedule so that they are now working the night shift, the new schedule is applied from the day of the change forward. Their old schedule with its corresponding absent/late statuses will still apply to their past work.
Choose whether or not you want to track late statuses.
If you want someone to start working at the start of their shift, set the Monitor Late Status toggle to ON. If you do not need them to start working at a specific time then set Monitor Late Status to OFF so that they will not be marked as Late for that shift.
Bulk Editing
You can bulk edit schedules for multiple users at the same time by choosing Select All in the top left corner of the schedule table.
Sample Schedule Scenarios
"I just want to keep it simple. Everyone in our company needs to work from 9 am to 5 pm from Monday to Friday."
"At our company, the workweek is from Tuesday to Saturday (or Sunday to Thursday) instead of Monday to Friday."
In this case, simply select the Tuesday to Saturday or Sunday to Thursday date range in the Schedule Type dropdown menu.
"How can I set up multiple shifts on the same day for the same person?"

"How can I set schedules for users in different time zones?"
All schedules on the page are in the company’s time zone. So, if someone is on the opposite side of the planet from the company’s time zone (a 12-hour difference), you will need to set their work schedule from 9 pm to 5 am if you want them to work from 9 am to 5 pm in their time zone. Admins can set the company's time zone from their Company Settings page.
"How do I set up a shift that runs past midnight, starting one day and ending the next day (i.e. 10 pm to 7 am)?"
"I don't care when my employees work as long as they work a certain minimum number of hours each day."
"I don't care when my employees work, as long as they work a certain minimum number of hours per week."
"I don't care when my employees work, as long as they work a certain minimum number of hours per month."