How to integrate Zendesk with Time Doctor
Here we will show you how to link your Zendesk account to your Time Doctor account so you can easily track time on Zendesk tickets from the Time Doctor application.
Naturally you must first have a Zendesk account to integrate that account with Time Doctor. Also, if another user has logged into Zendesk on your current browser session, it is important that they log out completely from the Zendesk website so that Time Doctor doesn't sync with their account by accident. It's okay if you are logged into the Zendesk account that you do wish to integrate with.
(Regular users or managers can skip to step 7 after their administrator or company owner has enabled the company's integration.
1.) For company owners or admins: Before individuals in a company can enable the integration, the company owner or admin will need to turn on the integration for the whole company on the company integrations page. The company owner or admin can get there from the main Time Doctor web dashboard by clicking on left menu bar > click on Company logo > Company Integrations
2.) On that company integration settings page, find and activate the Zendesk integration for the company
3.) Enter the domain name leading to your Zendesk account and click on Save.
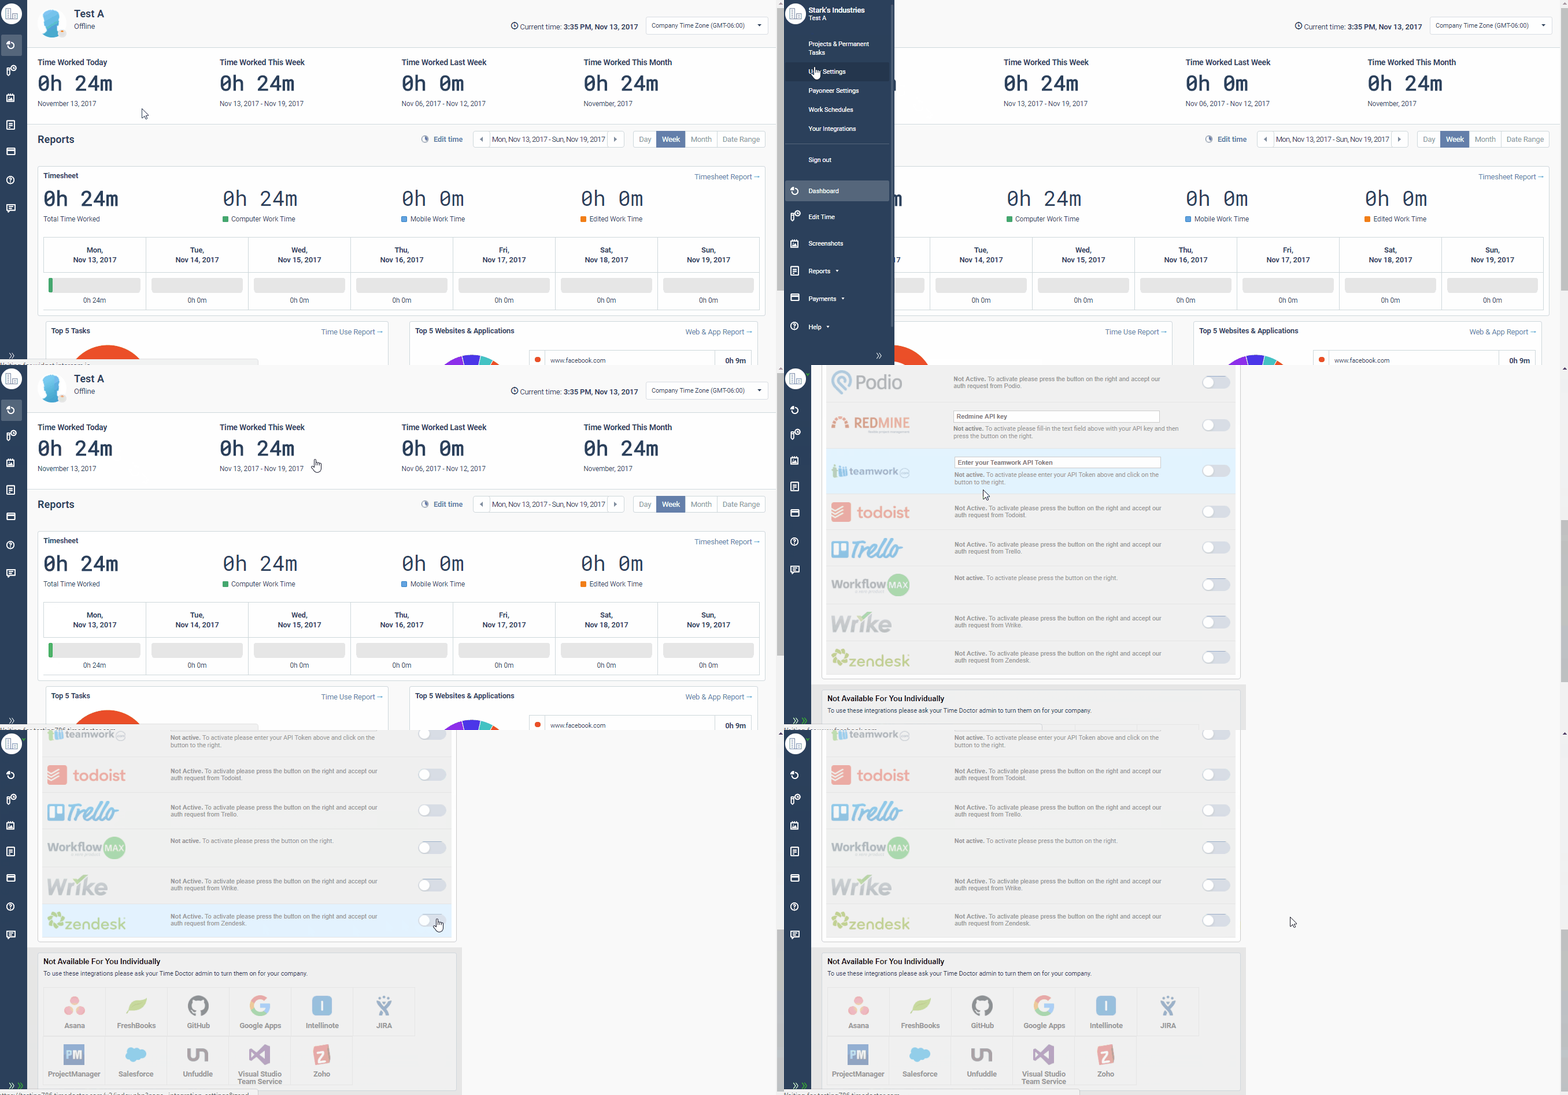
4.) You will be prompted to log into your Zendesk account. (If you are already logged into your Zendesk account in your current browser session, this screen will be skipped)
5.) Once logged in, the system will ask if you want to allow access to your Zendesk account. Click on Allow.
6.) You will see this screen upon completion. The company owner or admin who added the Zendesk integration will have an active personal integration by default, but that can be disabled.
7.) For regular users or managers who wish to activate their own Zendesk Integration, once the above is complete, they simply need to navigate to their personal integrations page by clicking on left menu bar > click on Company logo > Integration Settings and find the Zendesk integration.
8.) Click on the enable button, and log in to your Zendesk account (if you haven't already). The steps here are the same as steps 4 and 5 seen above.


