How to integrate Redmine with Time Doctor
Integrating Redmine and Time Doctor will allow you to use Time Doctor to track time to your Redmine tasks. Time tracked by Time Doctor will also be sent back to Redmine and will appear in reports in the Redmine interface. This article explains how to set up the Redmine integration for your company.
There a few steps, it should just take you a few minutes to complete the entire process:
Step 1 - Enable "REST Web Service" in Redmine
Visit http://your-host-url/settings?tab=authentication and enable the REST web service if it isn't already enabled. Here's a screenshot:
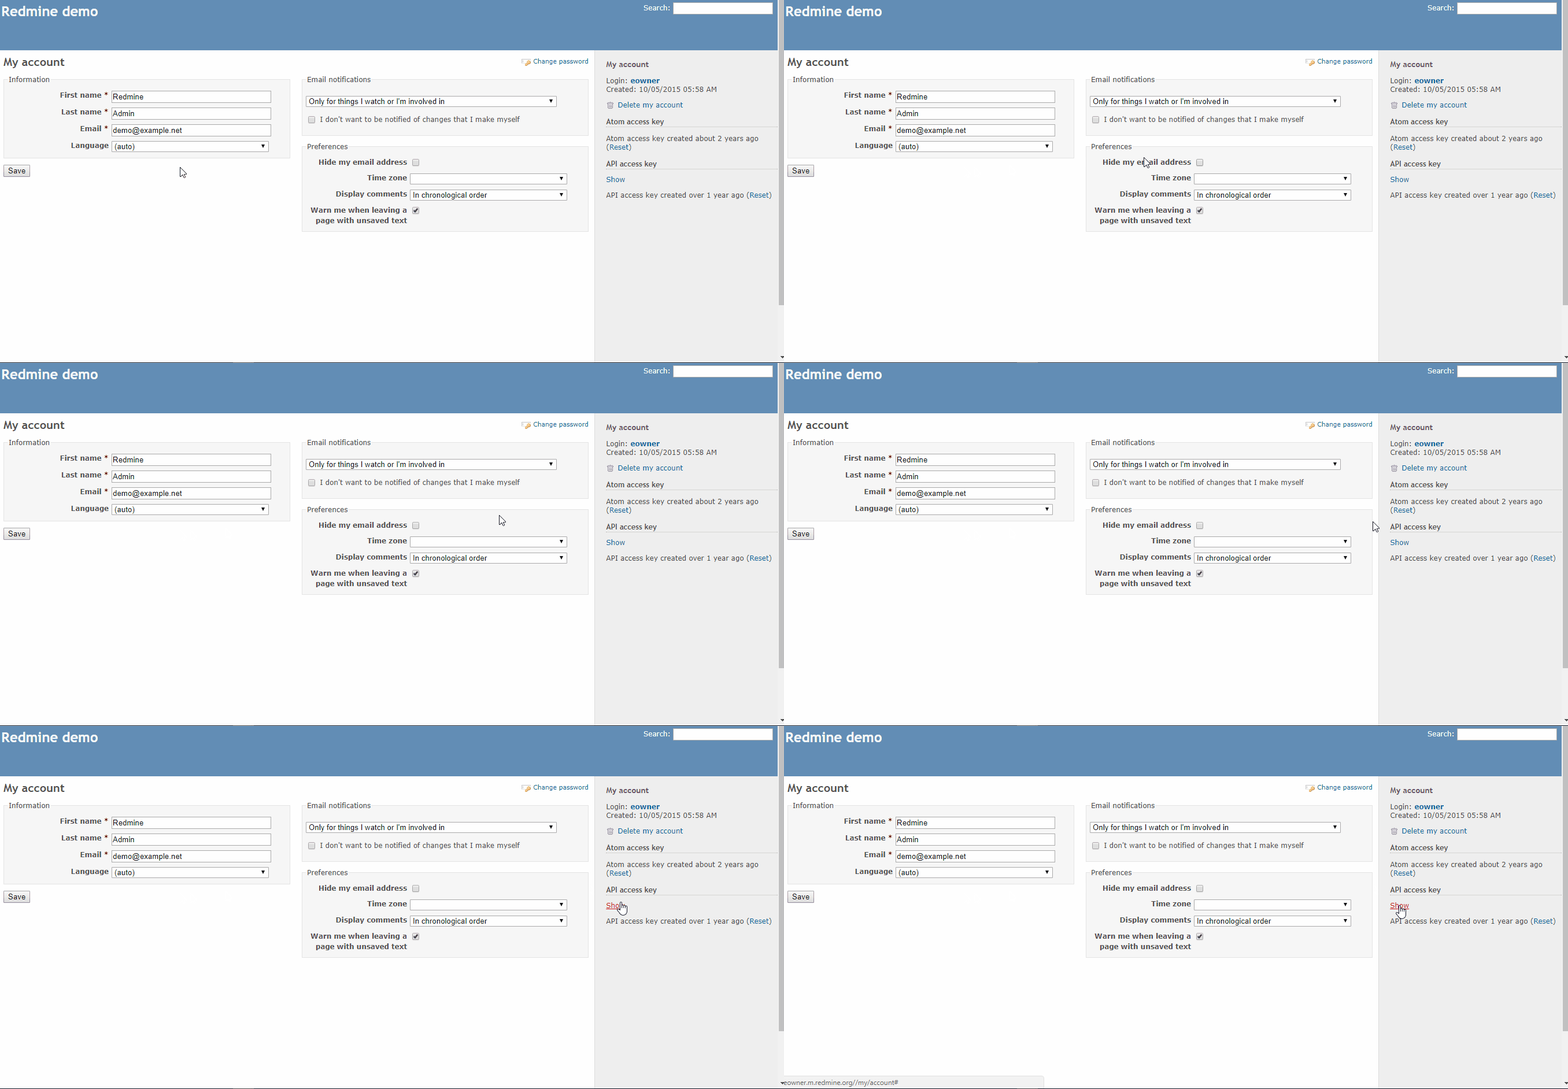
Step 2 - Find your Redmine API Key
You can find your API key at http://your-host-url Here's a screenshot:
Step 3 - Enter your Redmine Host URL & API Key into Time Doctor
Visit your in Time Doctor. After you submit your hostname, you'll be prompted to enter your API key. Here's a screenshot:
Step 4 - Set up Redmine to receive time data from Time Doctor
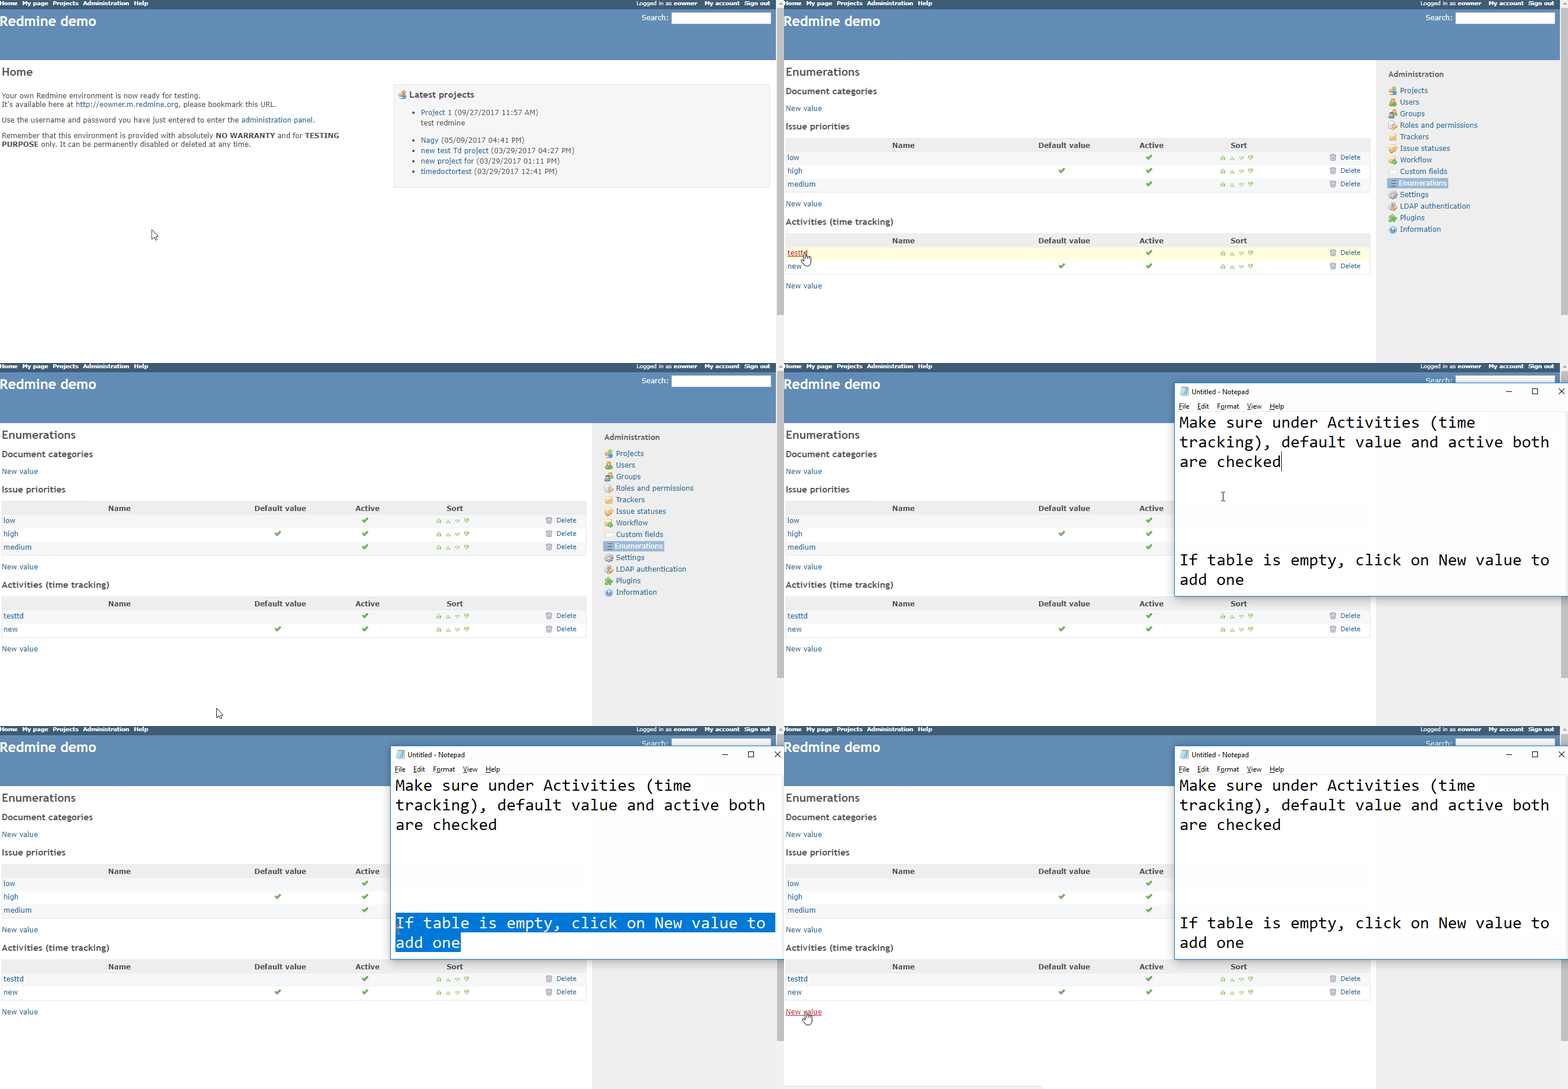
If you want to view time reports in the Redmine interface as well as the Time Doctor interface, you'll need to visit http://your-host-url/enumerations and ensure that you have a value under "Activities (time tracking)".
Step 5 - Ask your Employees to integrate with Time Doctor
The integration process is much simpler for each of your employees. They simply need to visit their User Integration Settings page, and turn the toggle to "On"
That's it!
Your Redmine issues & projects will now be included in the reports in your Time Doctor account. If you've completed Step 4 above, you'll also be able to see Time Doctor's data in the reports in your Redmine interface.
Data from Time Doctor gets sent to Redmine once every hour.


