How to integrate JIRA with Time Doctor
If your Time Doctor admin has already set up your company’s JIRA integration, then you can skip down to section below with the heading “How each team member can activate their JIRA integration”.
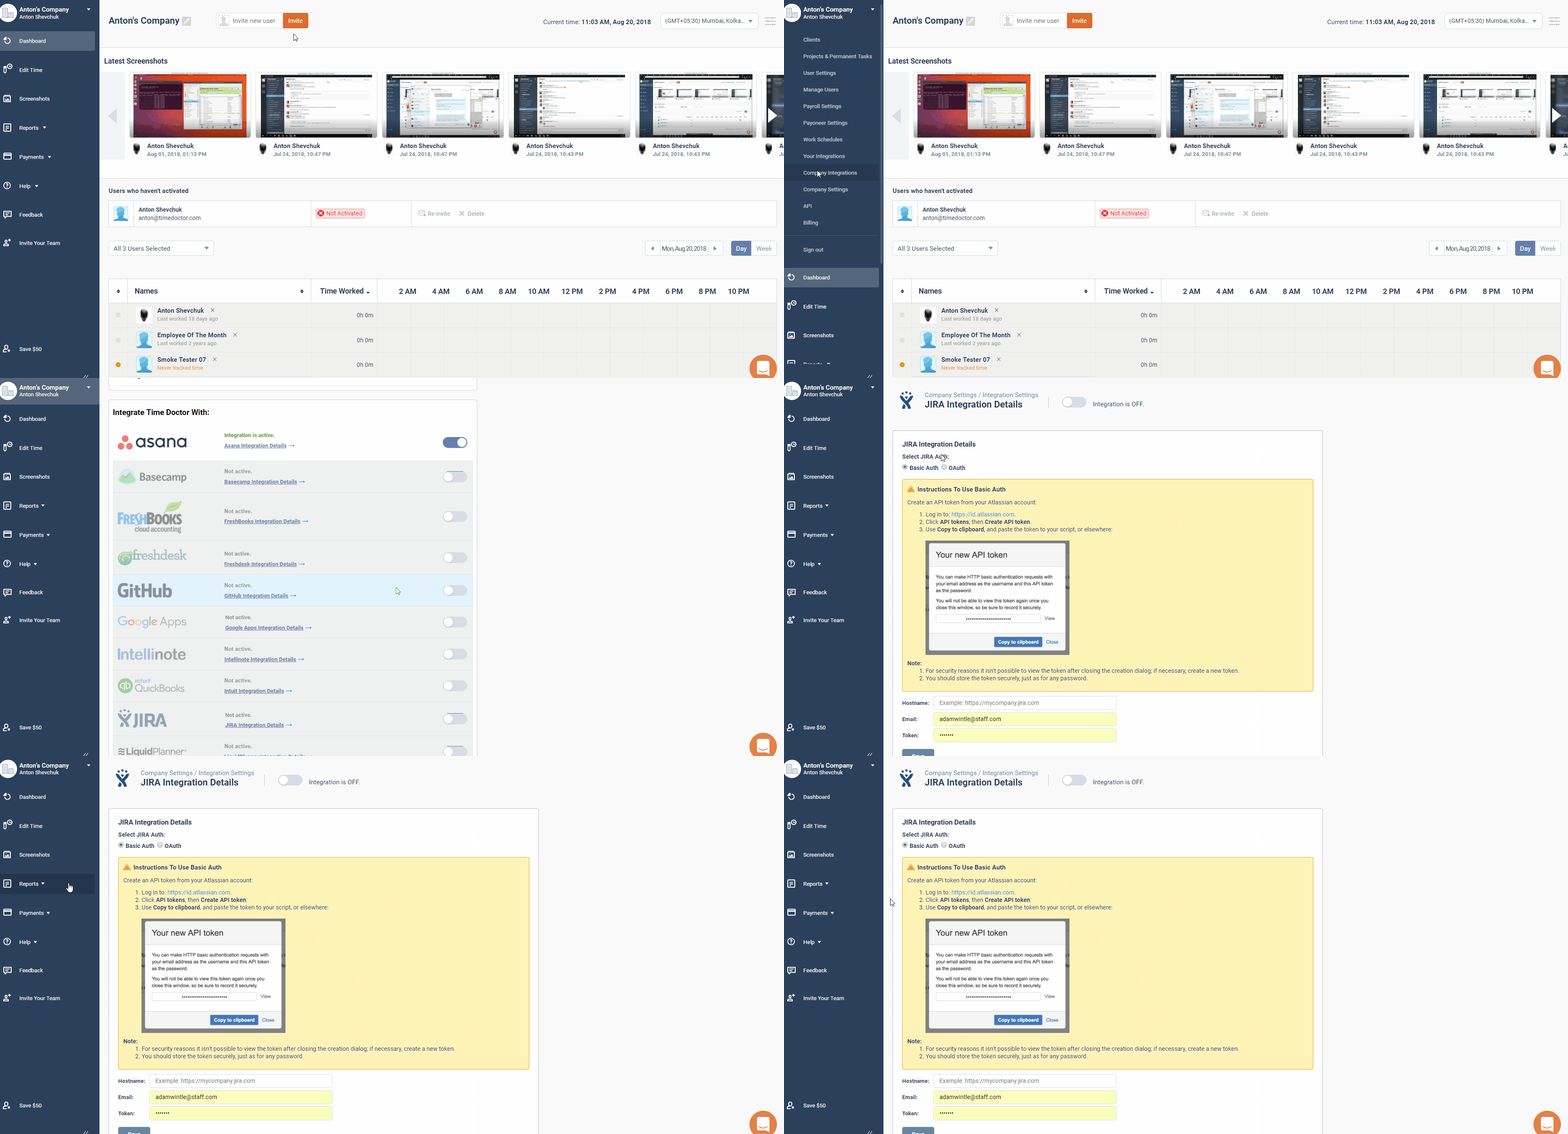
1.) To integrate JIRA with Time Doctor, the admin/company owner should initially set up the integration from the company integration settings page. From the Time Doctor Web Dashboard, navigate to the left menu panel -> click on company logo -> Company Integrations
2.) On the next page, you'll want to scroll down until you see JIRA on the list of integrations and click the ON/OFF button to the right. That will bring up this page where you can enter your JIRA's host name, email and API token.
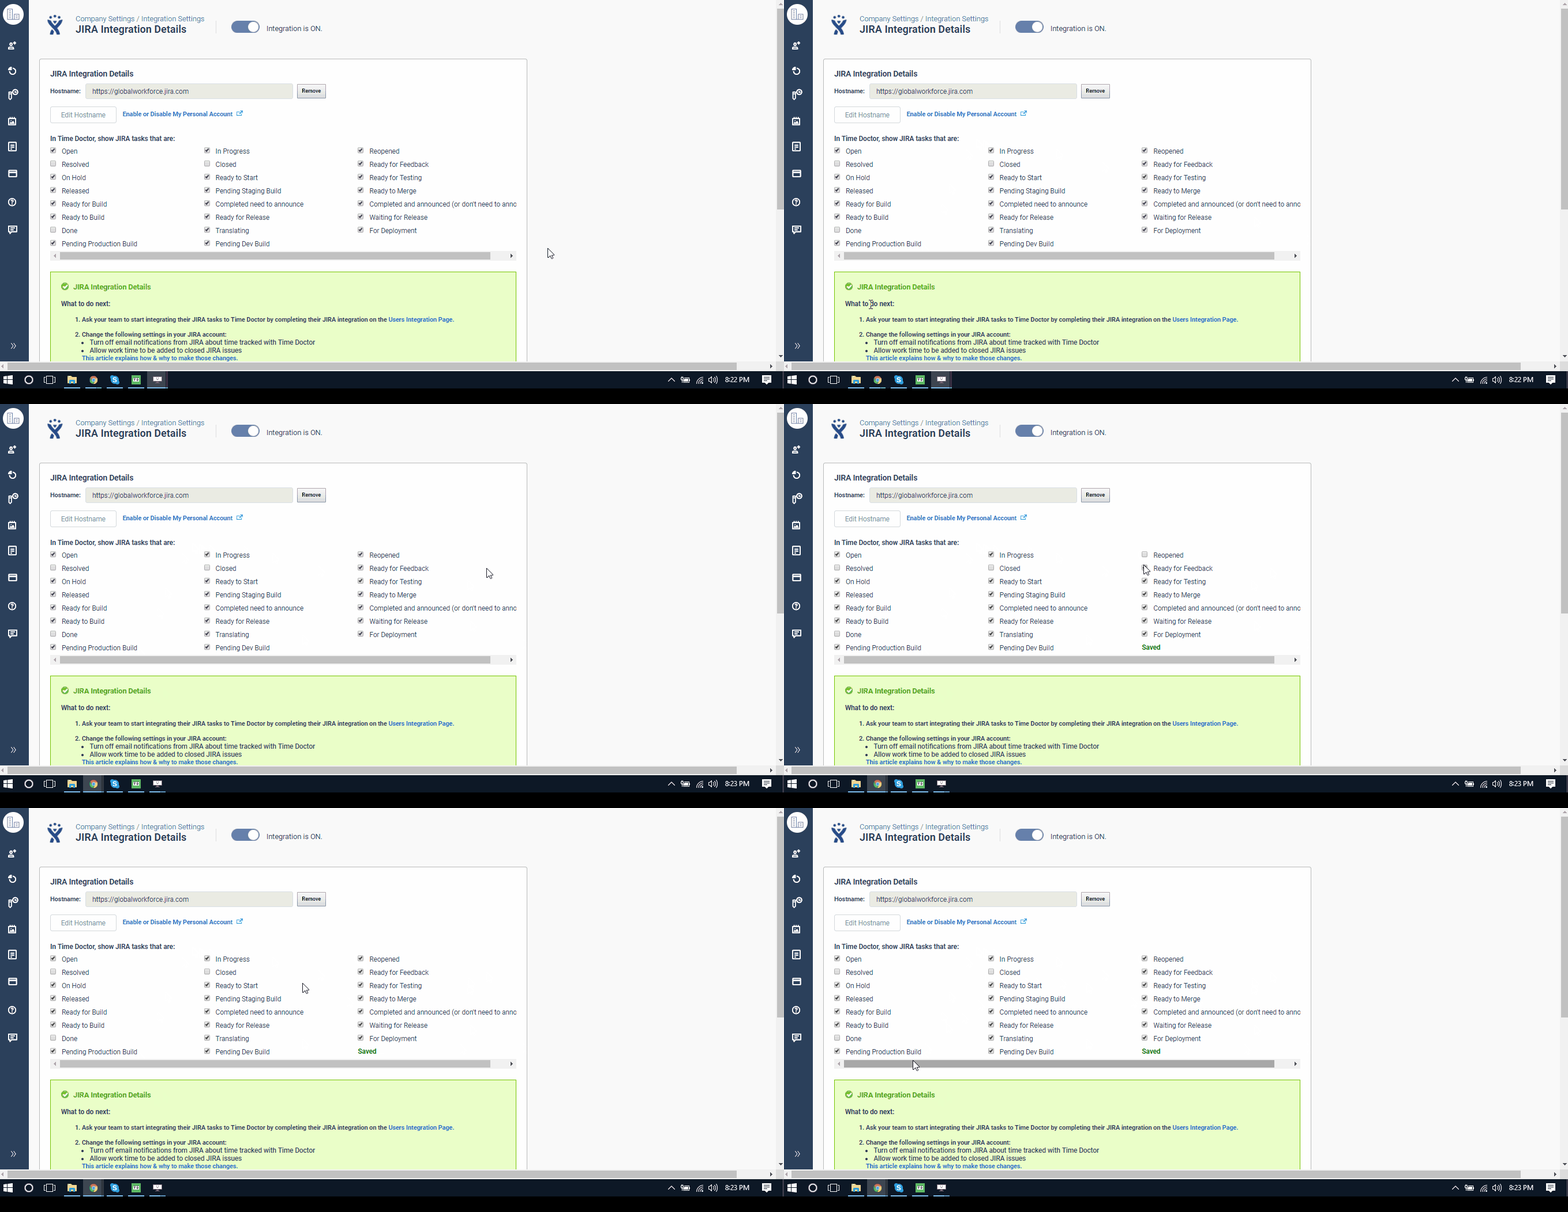
Make sure you include the entire hyperlink, along with https:// The integration will then be active!
But you're not done quite yet. Select which tasks to synchronize with Time Doctor. Only the tasks assigned to you with the chosen statuses will be seen in the Time Doctor App:
3.) Once you’ve integrated with JIRA, we strongly suggest making some important changes to your JIRA account. Click here for complete instructions. Once setup is done, you can then advise your team members to enable the JIRA integration on their end.
Here’s how each team member can activate their JIRA integration:
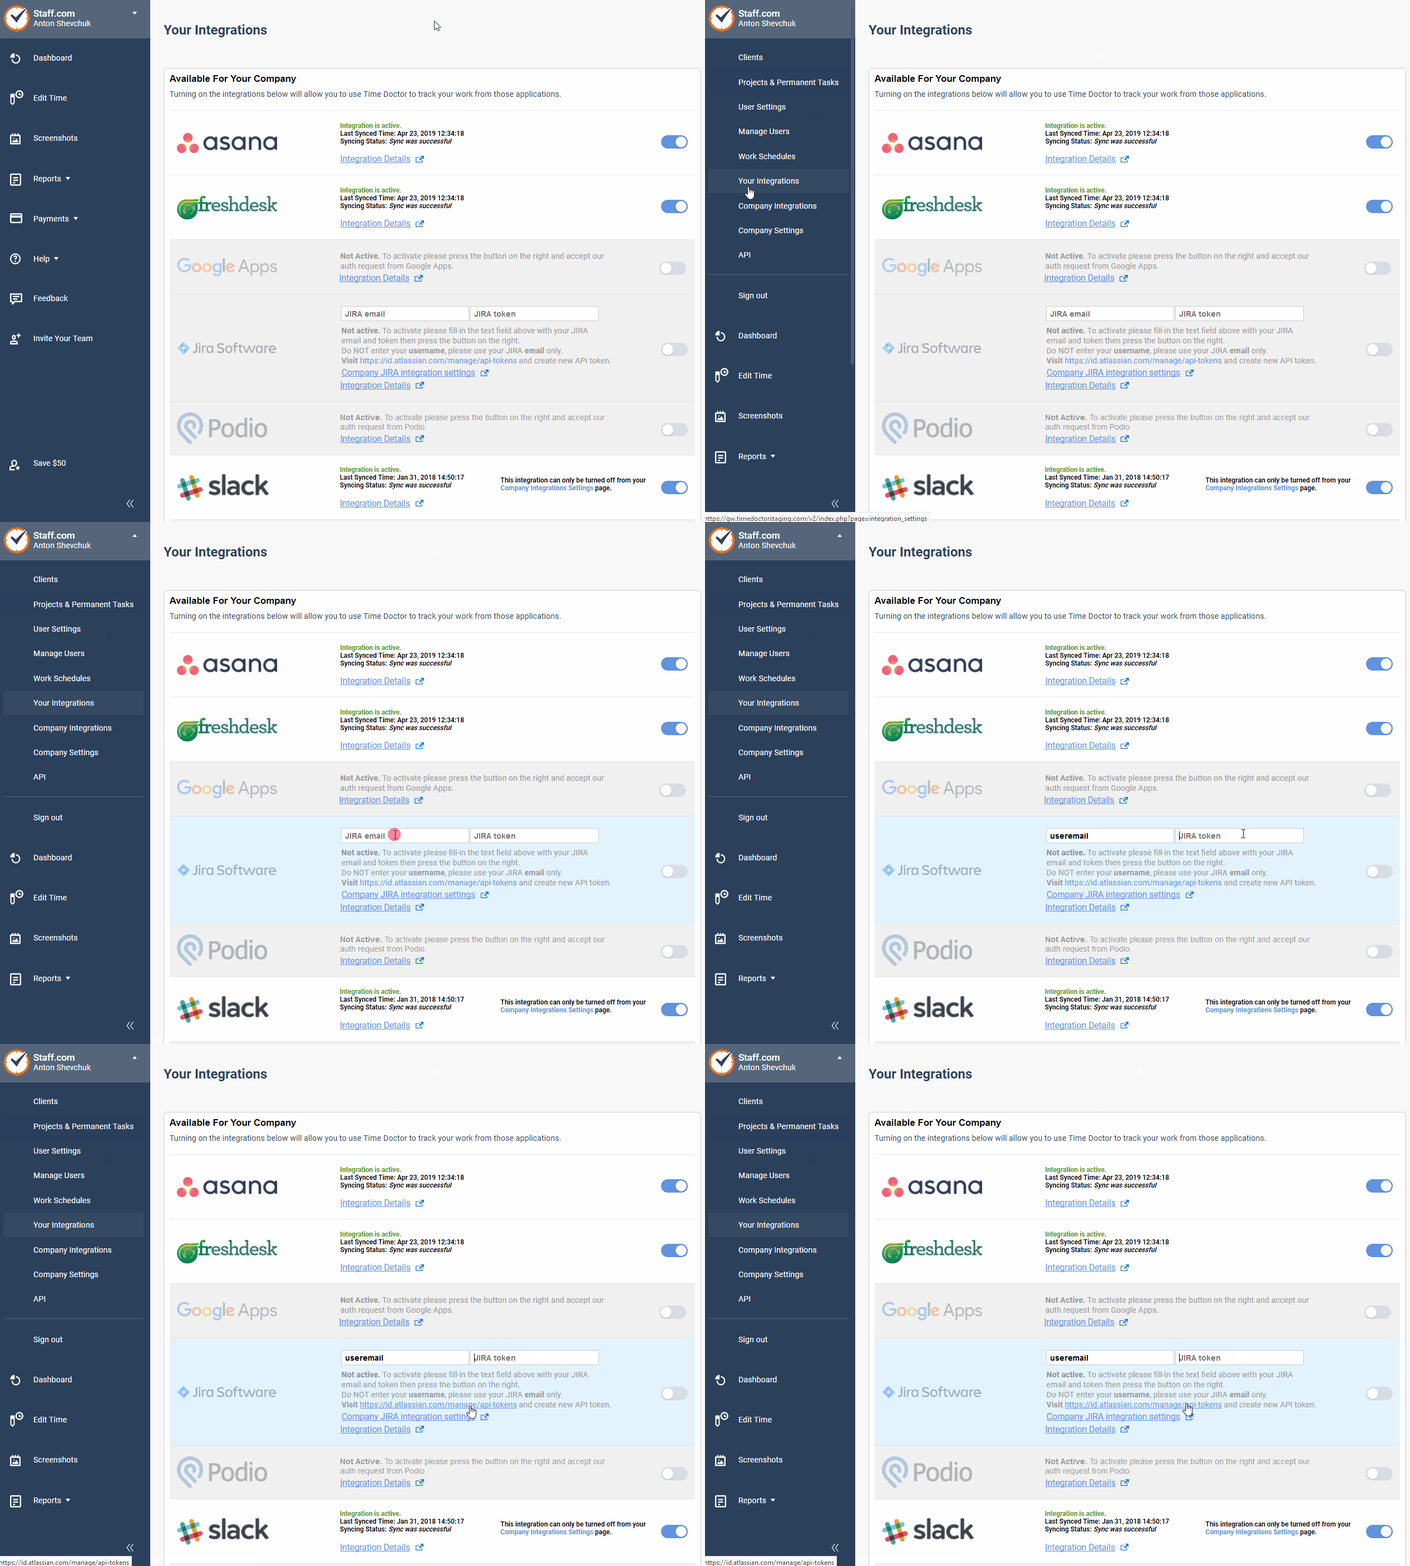
1.) A regular user or manager should navigate to the settings menu and click on Integration settings
2.) Enter JIRA email and API token, and click the button on the side to toggle ON.
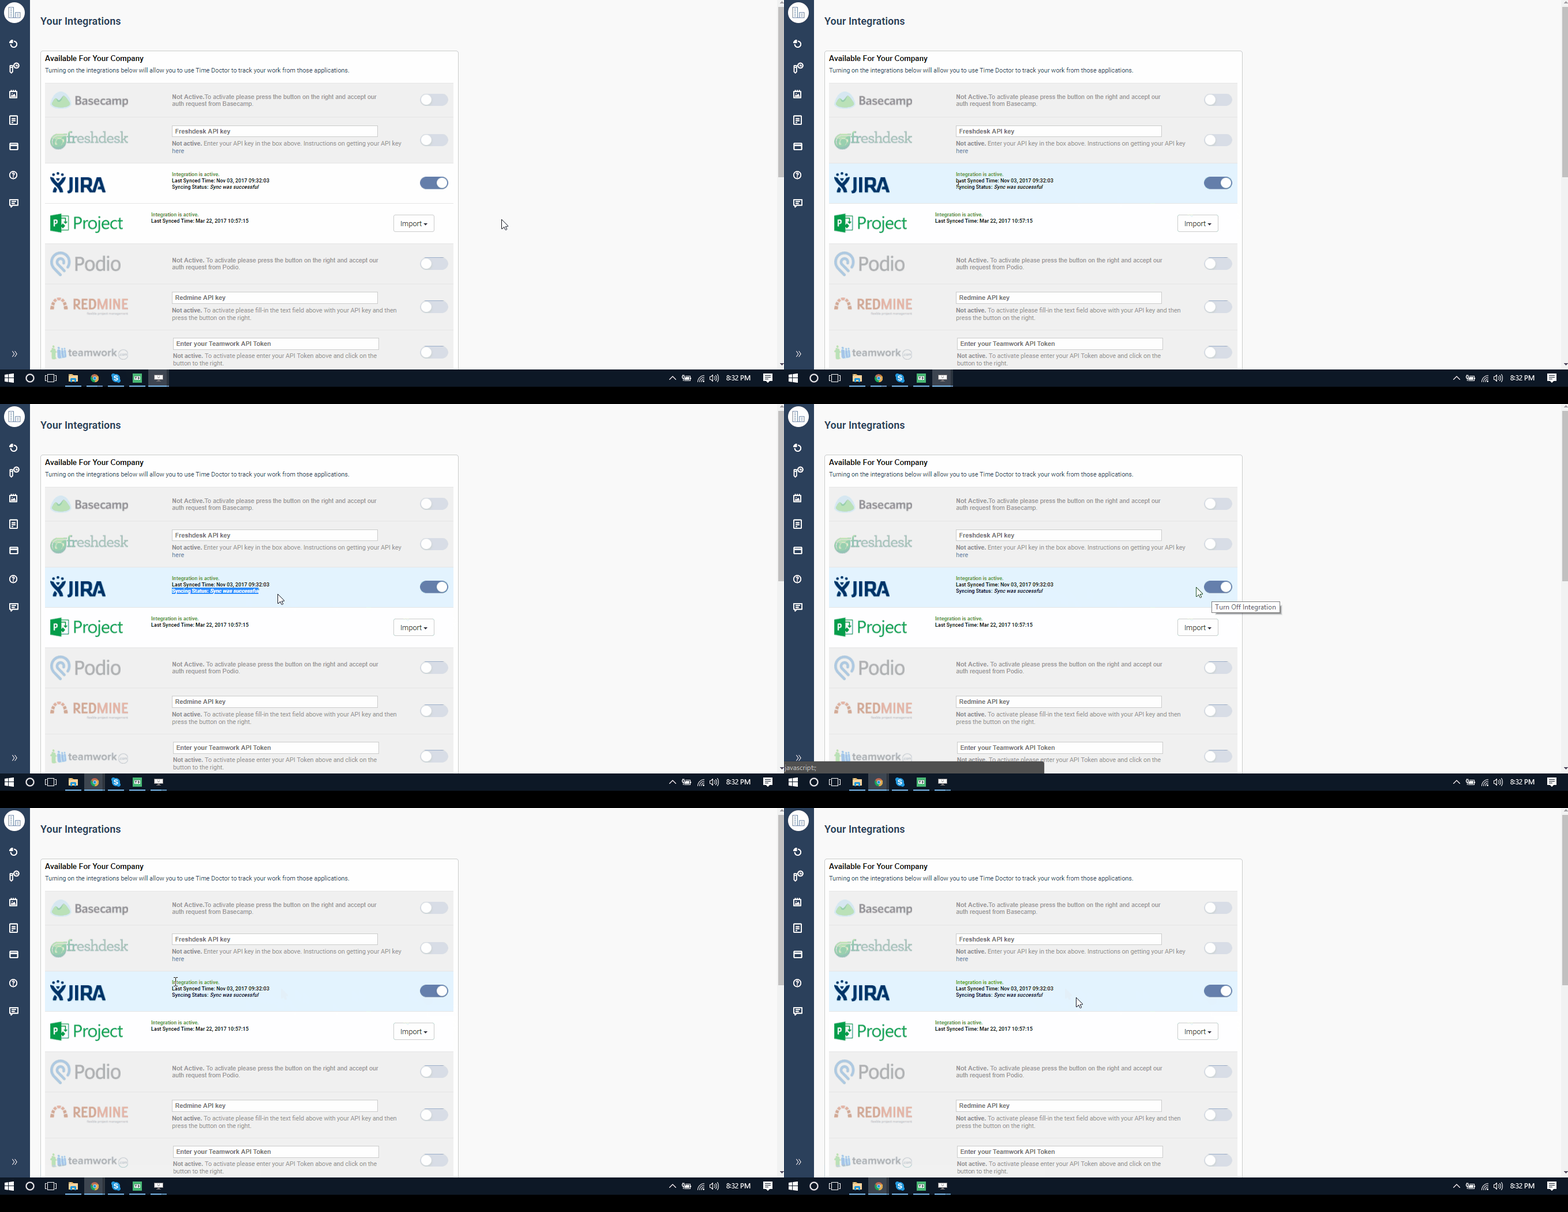
3.) Now, that your team has turned ON the integration, all of your team’s tasks will be synced to the Time Doctor application and they can now start tracking time. That’s it!
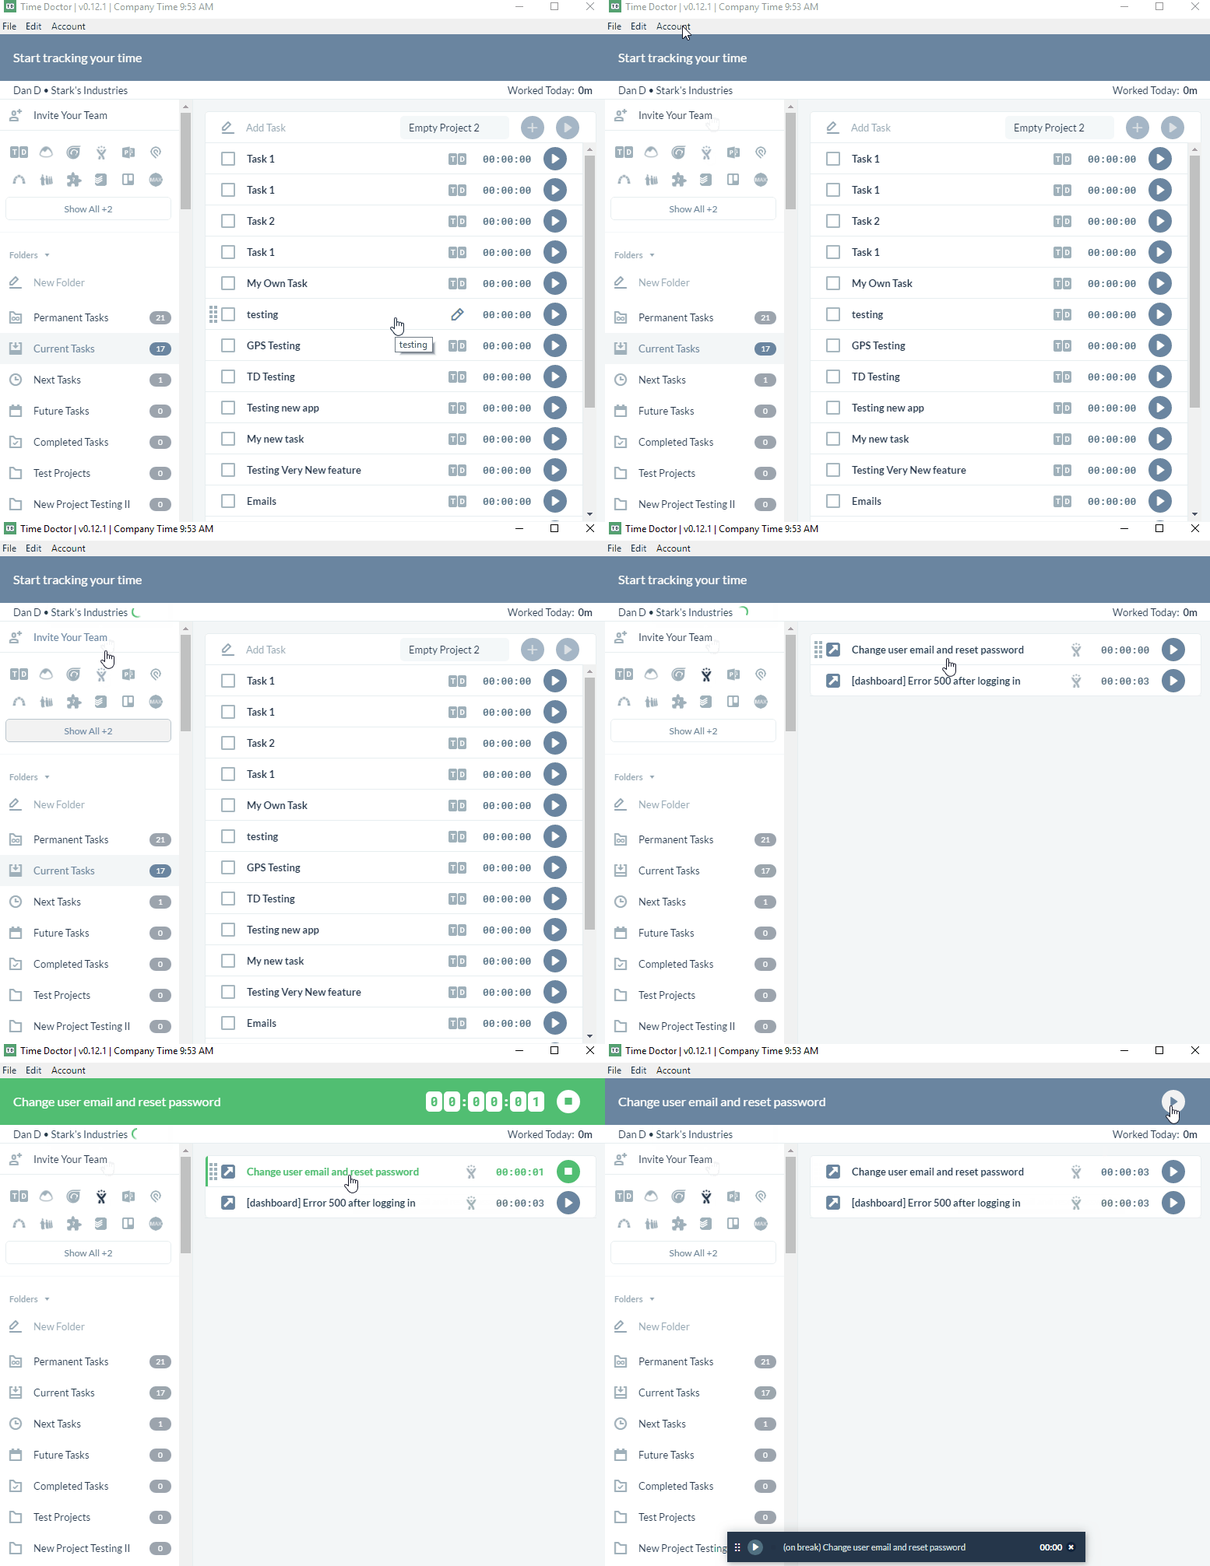
4.) Now that the integration is set up, your JIRA tasks will appear in the Time Doctor desktop application where you can track time on them.
Note: the screenshots below are from Time Doctor Pro. If you’re using Time Doctor Lite then you can navigate to your JIRA tasks by clicking the left & right arrows at the top of your task list. See this article for more information.
5.) You can check the time spent by going directly to the task in JIRA then go to the ‘Work log’ section.

