Setting Up Time Doctor Payroll for the First Time
The Payroll Settings page is the first place you should visit in order to start using Time Doctor's Payroll features. It will enable you to set pay periods, payment frequencies, pay rates, payment methods, and more.
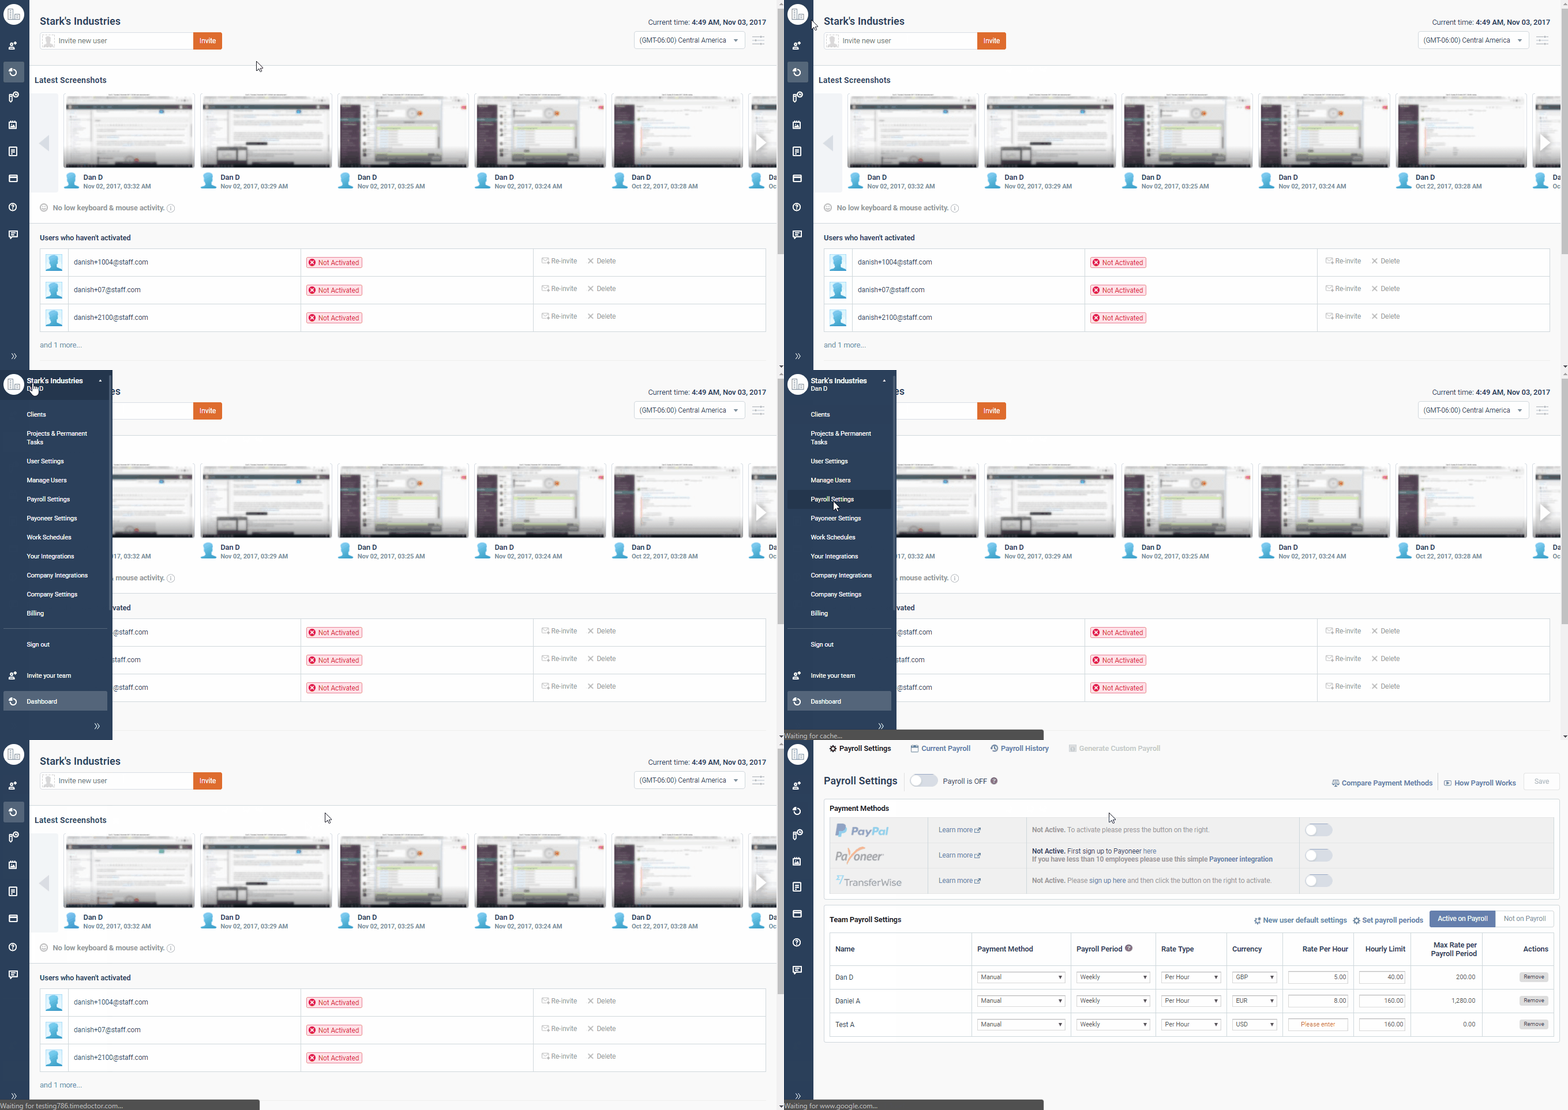
To access the Payroll Settings page directly from the Time Doctor web dashboard, in left-hand menu bar, click on the company logo > Payroll Settings.
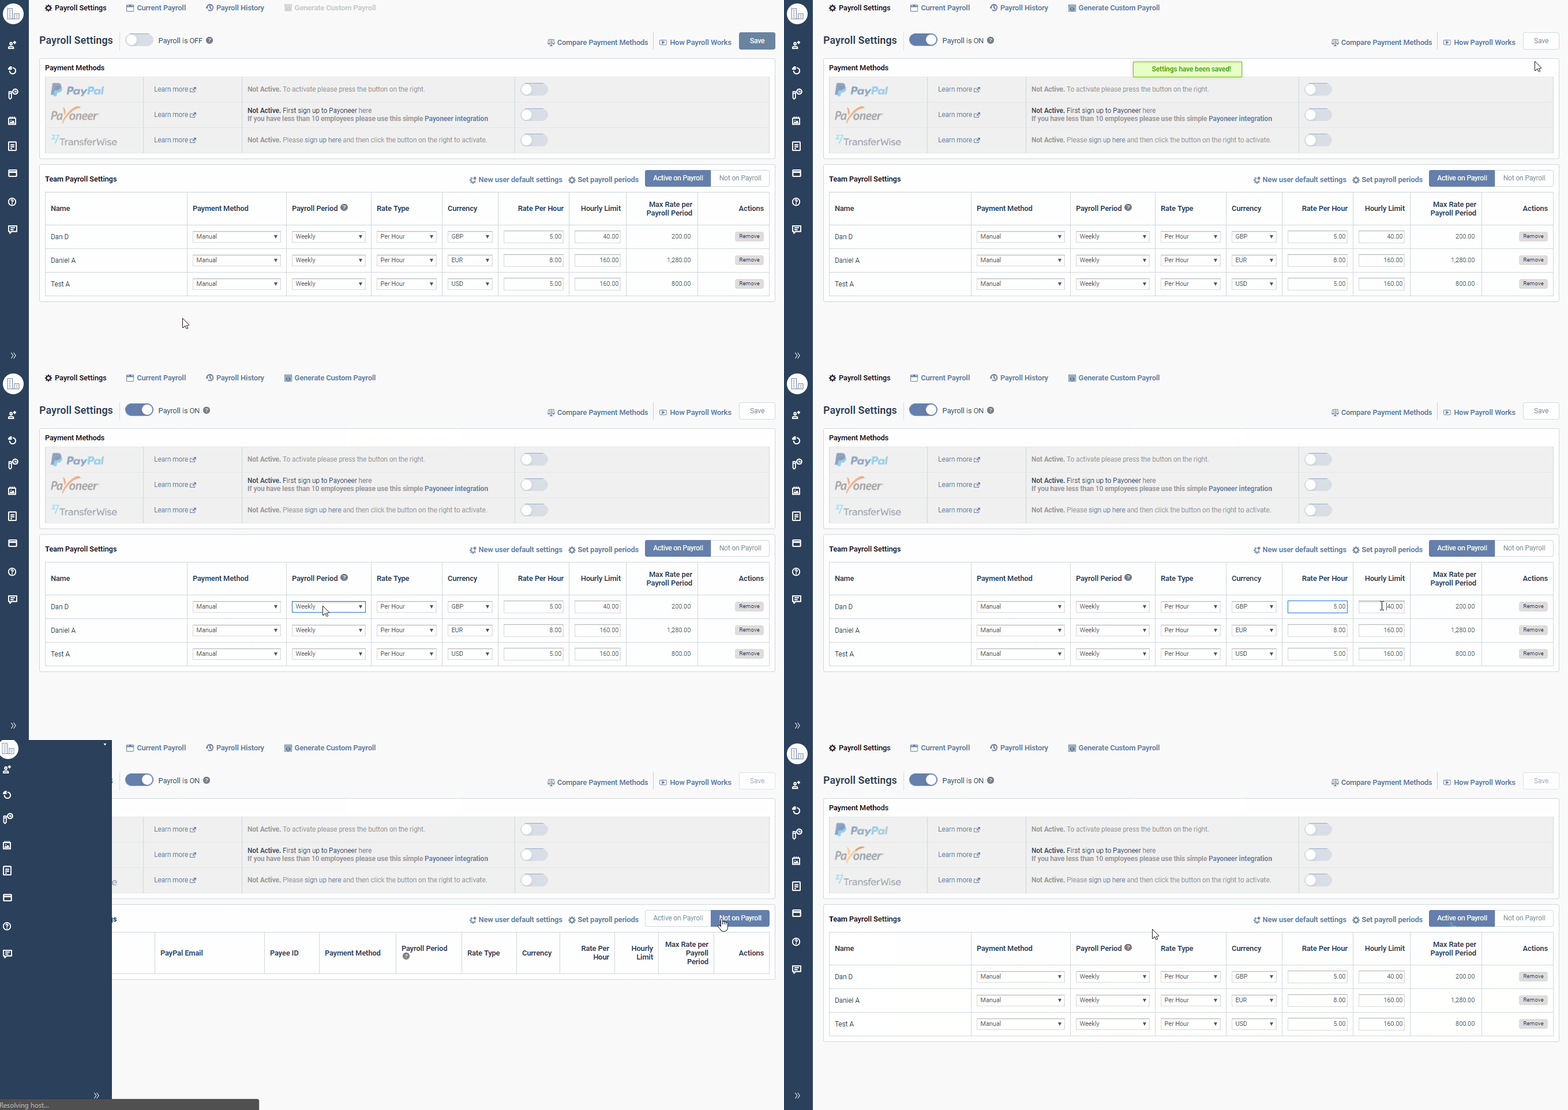
If this is the first time you are setting up the Time Doctor Payroll features, you will need to click the On button in the upper left-hand corner. Once payroll is turned on and configured, any staff members who are active on payroll will receive an email at the end of their pay period indicating the number of hours they have worked and the amount they can expect to be paid. The account owner will also receive an email to allow them to review the payroll. Before any payments are sent, the payments will always have to be approved. You will also want to choose a payment method (if applicable). Be sure to click on the Save Settings button to save the changes you have made.
You may need to scroll down to see all of the users in your company. Make sure that you go over every field for every user to properly configure each individual user.
NOTE: The Hourly Limit column will not prevent a user from tracking time beyond a certain limit. It will only cap the amount that payroll calculates for the pay period.
If you ever want to remove a user from the payroll (either temporarily or permanently), click on the Remove button under the Actions column. This will move that user into the Not on Payroll category. They can be added back at any time by clicking on the Not on Payroll button, then selecting Add to Payroll under Actions.
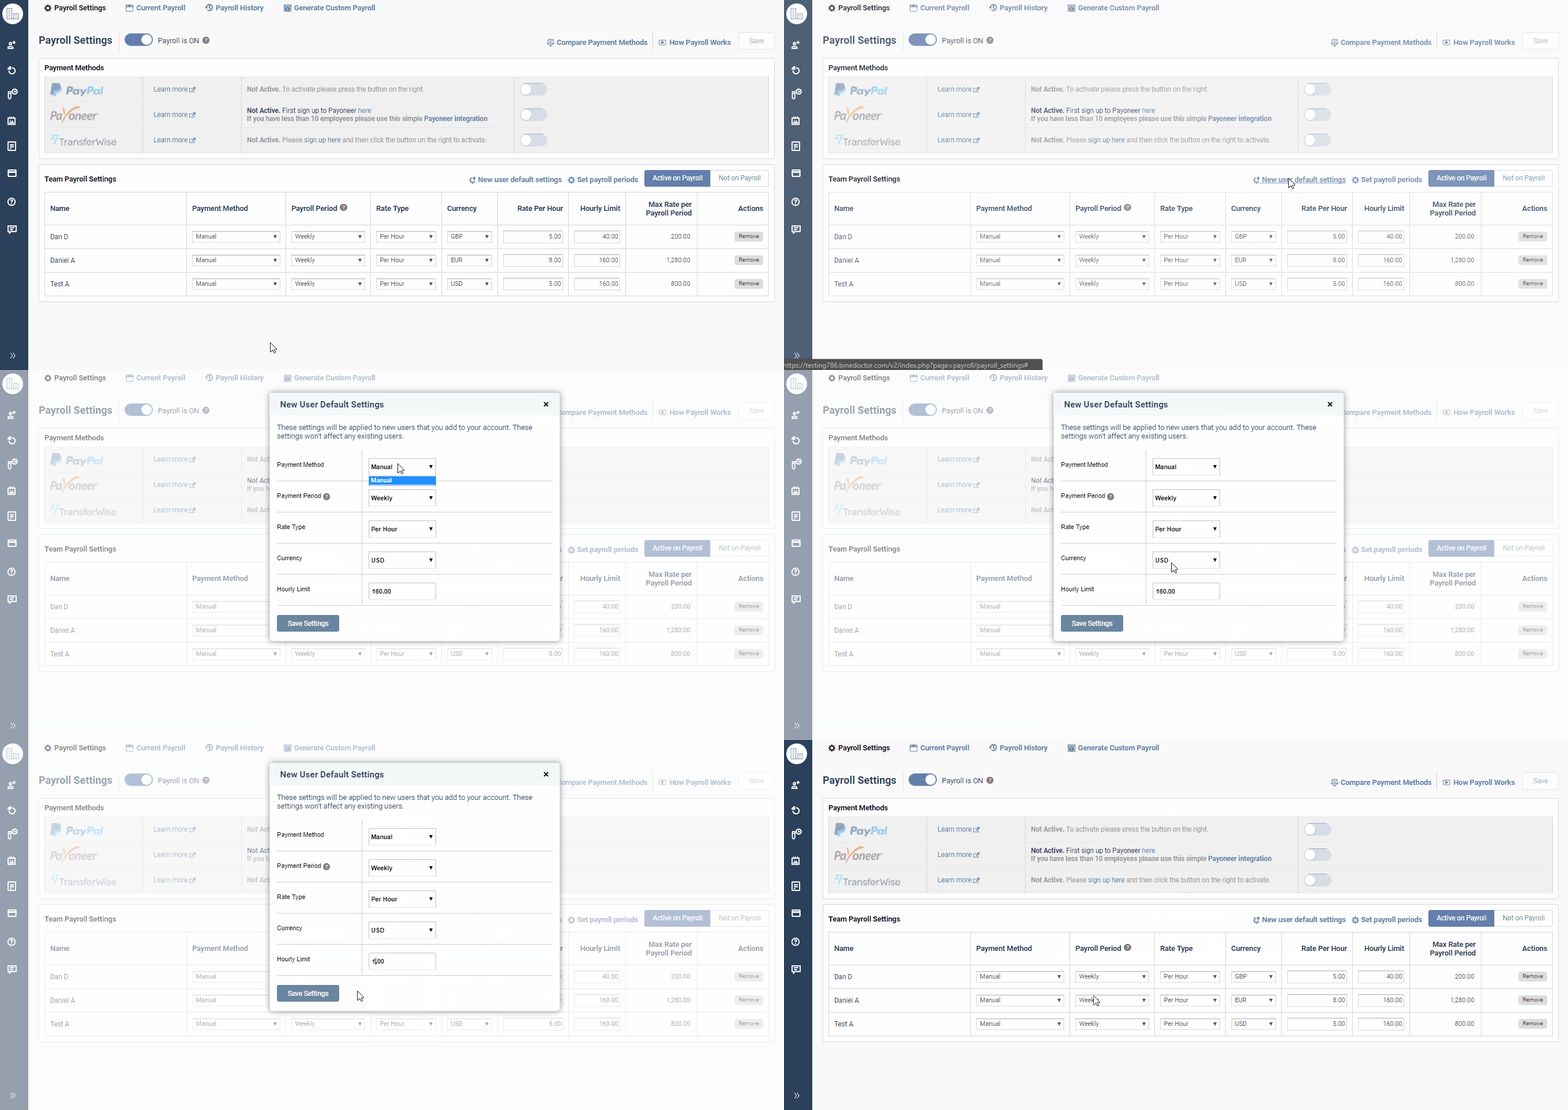
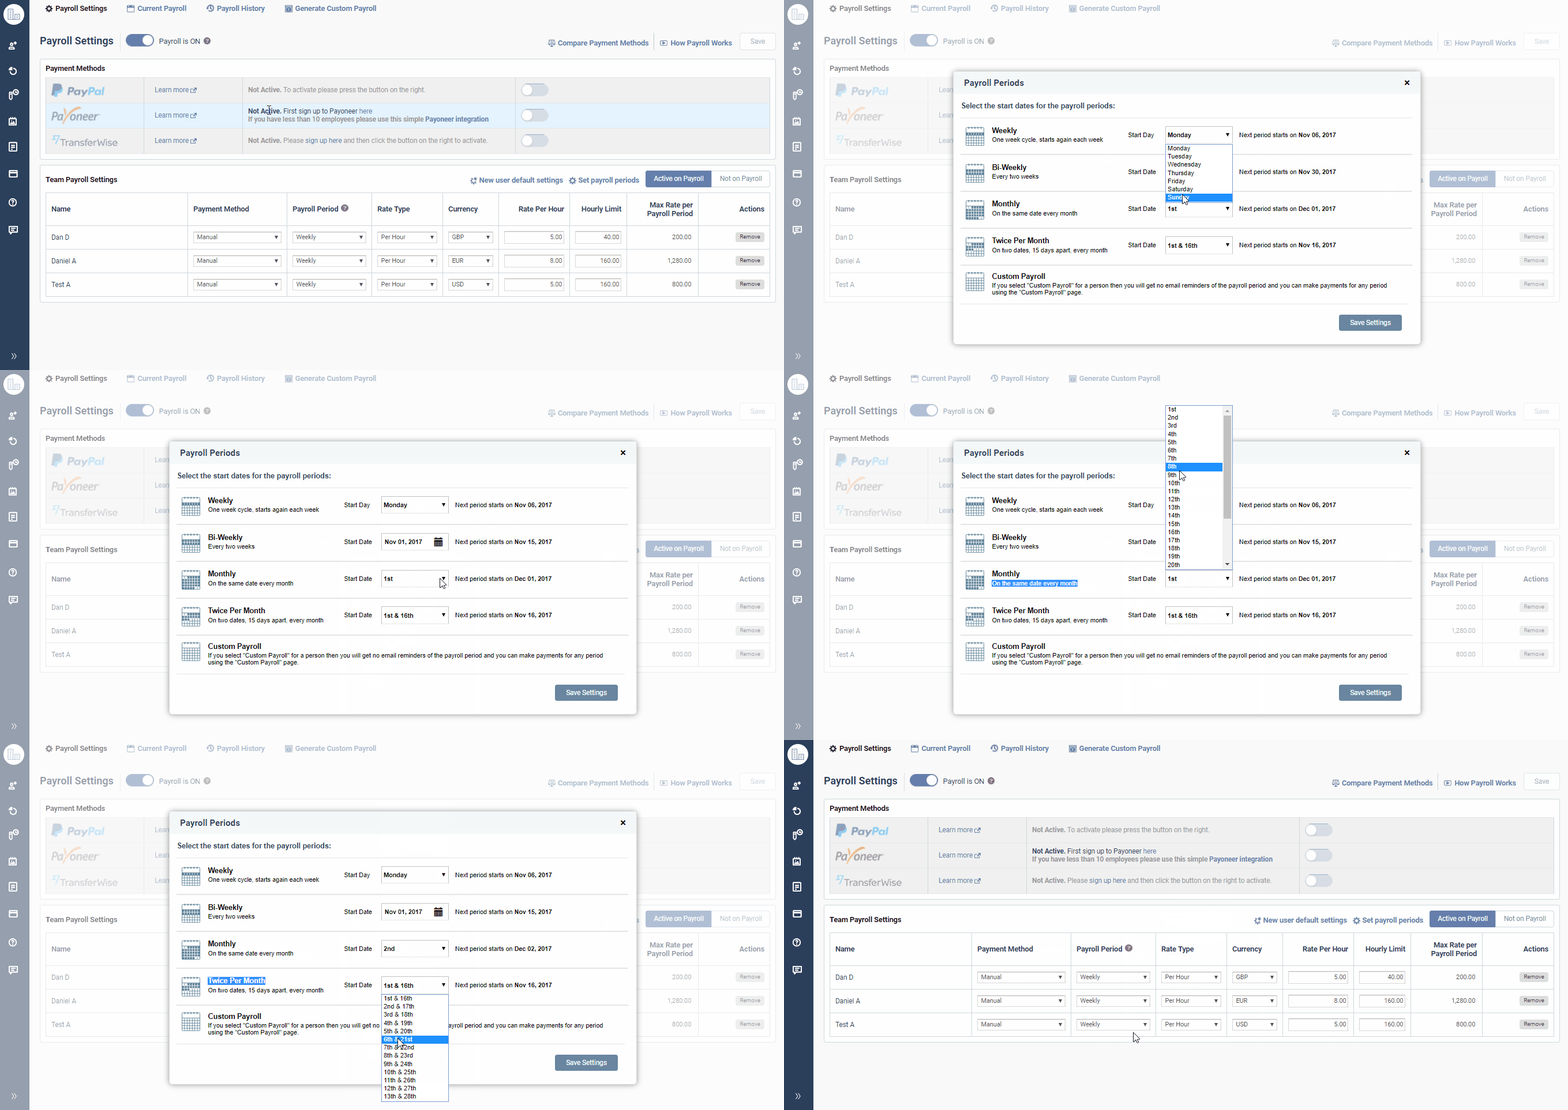
Two other important configuration fields to note are New user default settings and Set pay periods.
Clicking on New user default settings will bring up a window that will allow you to change the default settings for new users as they are added to your company. This makes it very easy to configure a large number of users for larger companies.
Clicking on Set payroll periods will let you customize all of the payroll begin and end dates for each of the four payroll period types (weekly, bi-weekly, monthly, or twice monthly).


